Step 1: Open your Python Notebook in google Colab and connect to a runtime
Let’s begin by accessing the provided link:
Upon clicking the above link, you may be prompted to log in with your Google account. Please proceed with the login.
You will then be directed to a user interface resembling the following:
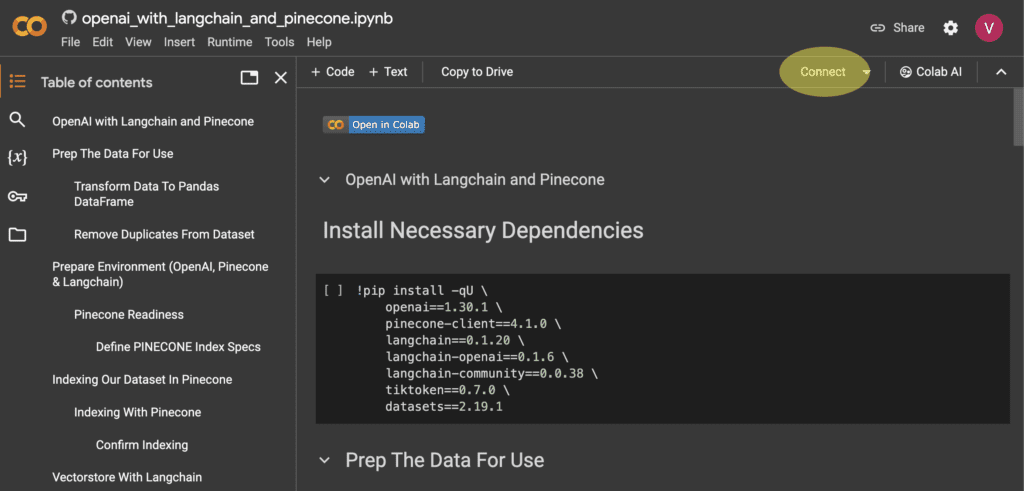
If you see the option to connect, highlighted in the red oval shape on the top-right corner ![]() , you need to allocate a runtime first. Click on ‘Connect’ to proceed.
, you need to allocate a runtime first. Click on ‘Connect’ to proceed.
Colab offers you free of cost runtime (CPU & Disk) that will be allocated and will remain available as long as you remain connected and the runtime doesn’t become inactive. After a short inactivity it will be deallocated and you’ll loose the work you were doing on it. Colab although has some paid plans where you can have
Once connected, you should see ![]() instead of the
instead of the  .
.
Step 2: Install necessary dependencies
!pip install -qU \
    openai==1.30.1 \
    pinecone-client==4.1.0 \
    langchain==0.1.20 \
    langchain-openai==0.1.6 \
    langchain-community==0.0.38 \
    tiktoken==0.7.0 \
    datasets==2.19.1
After connecting, let’s execute the first code block by clicking the ‘Run’ ![]() button:
button:
It should result an output similar to the following:
Step 3: Prep the data for use
Step 3.1: Load dataset
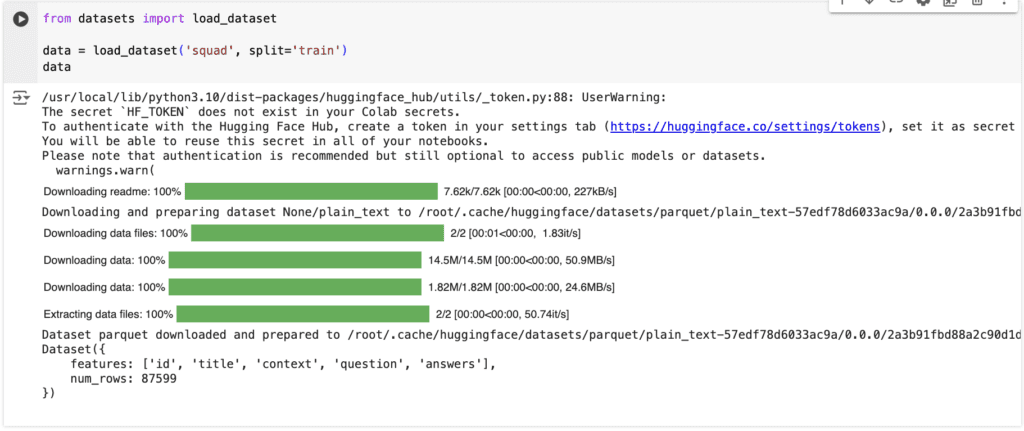
Next, we require a dataset for our exercise. We’ll use a publicly available dataset from Hugging Face, as shown below:
from datasets import load_dataset

data = load_dataset('squad', split='train')
data
Lets execute this by clicking the ‘Run’ button ![]() . Executing this code results in an output similar to the following:
. Executing this code results in an output similar to the following:
Step 3.2: Transform data to pandas DataFrame
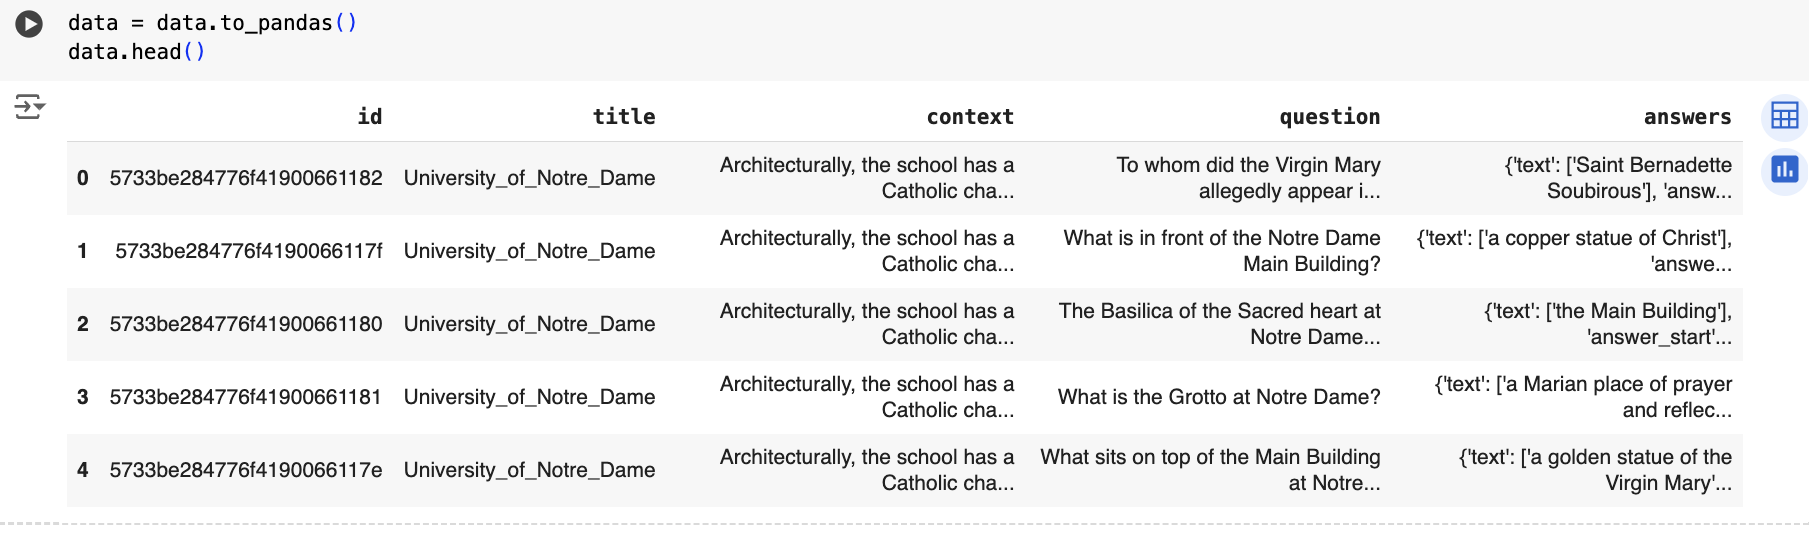
Once the data is loaded, we’ll convert it into a Pandas DataFrame:
A pandas DataFrame is a two-dimensional labeled data structure widely used in Python for data manipulation and analysis tasks. It resembles a table or spreadsheet with rows and columns, where each column can contain data of different types (e.g., integers, floats, strings) and is labeled with a unique name. Pandas also provides a vast array of functions and methods for data manipulation, cleaning, reshaping, merging, and analysis, making it a versatile tool for data science tasks.
data = data.to_pandas()
data.head()
You may already know that data.head() function is used to display the first few rows of a DataFrame data. By default, it shows the first 5 rows of the DataFrame, providing a quick overview of the data contained within it.
Lets execute this by clicking the ‘Run’ button ![]() . Executing this code should result in an output similar to following:
. Executing this code should result in an output similar to following:
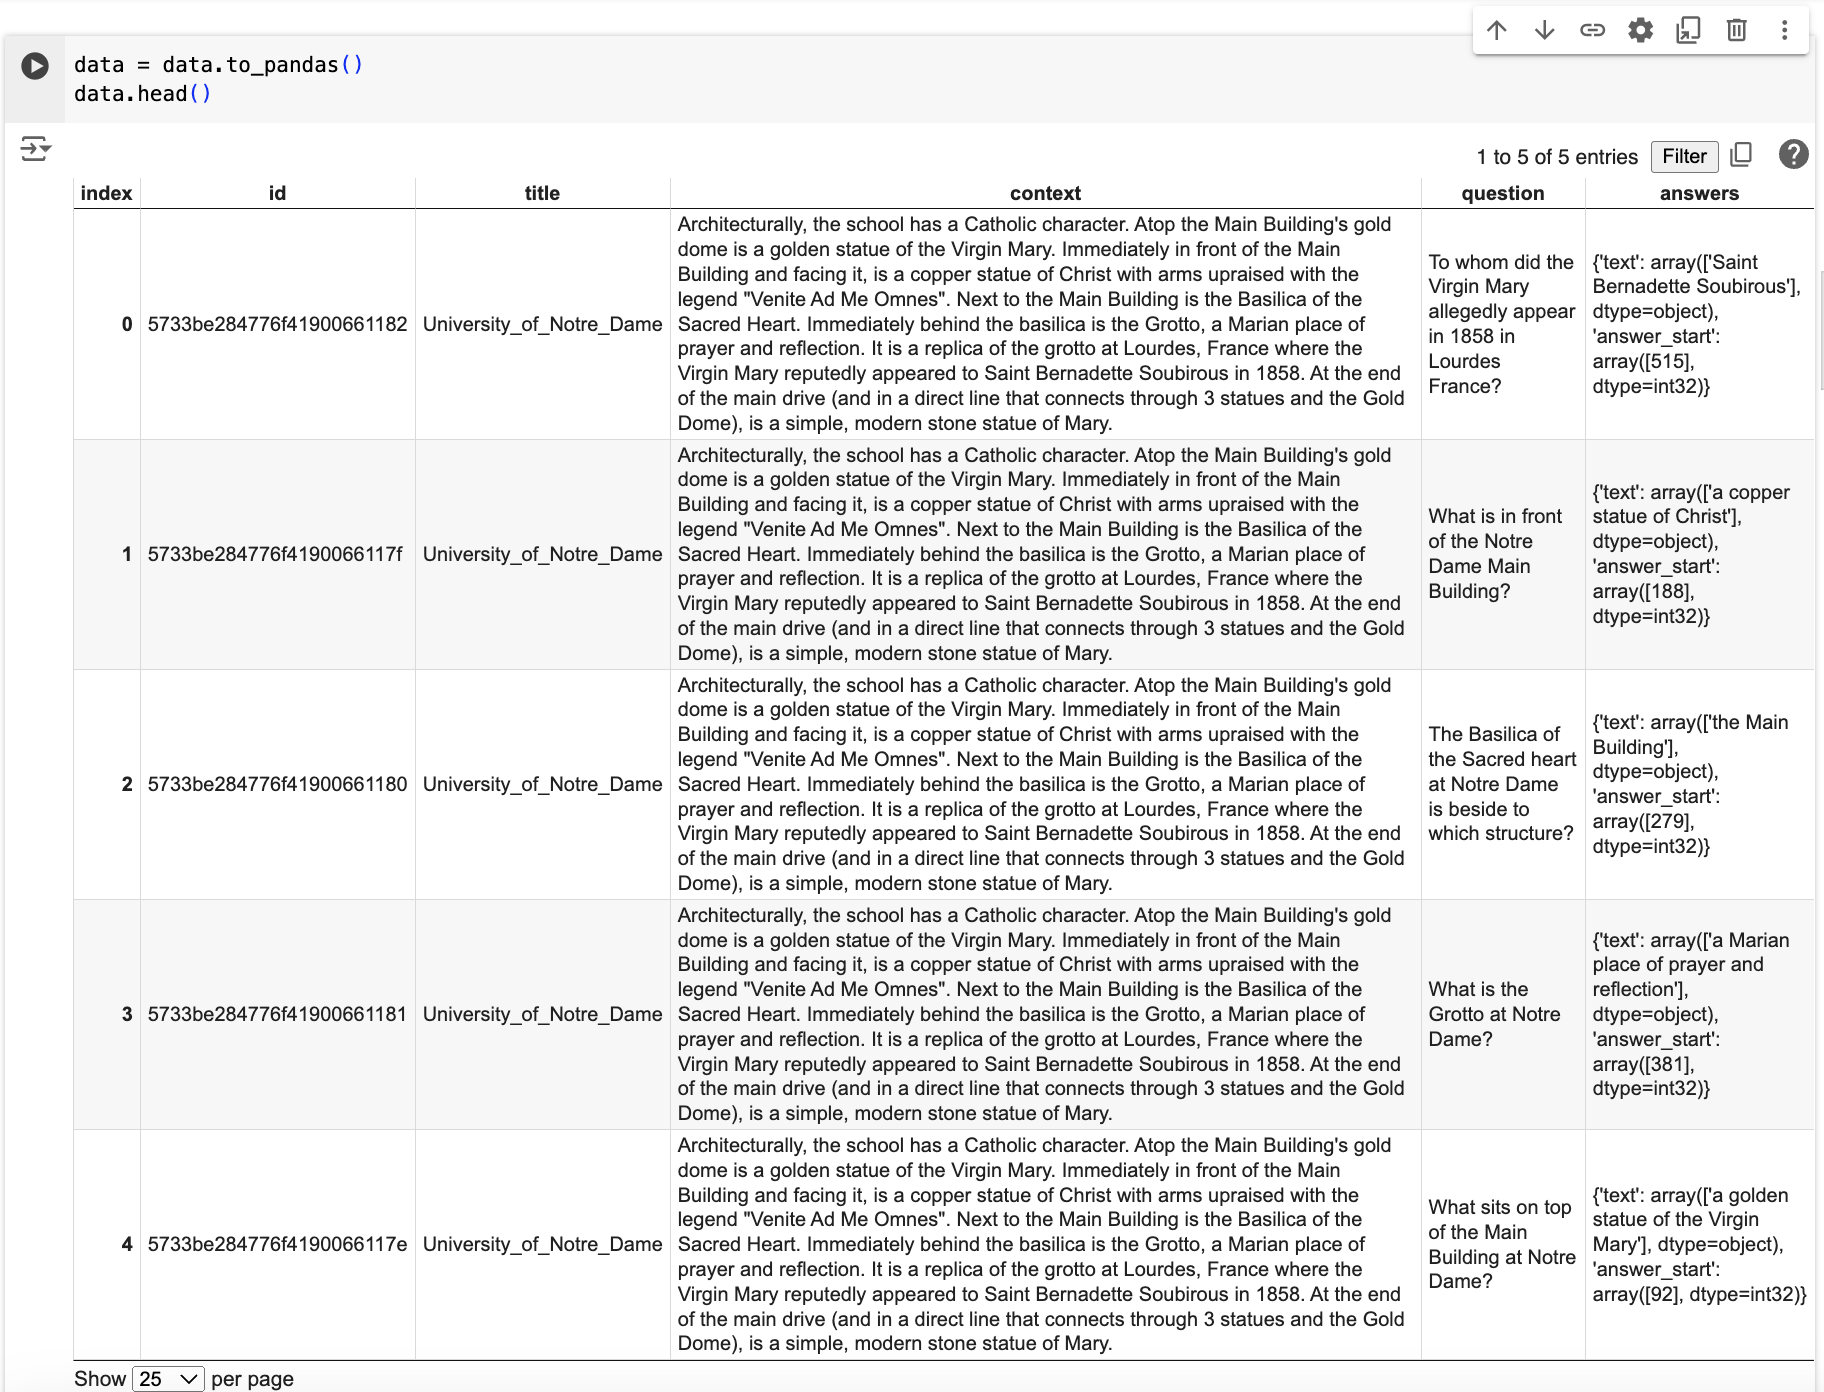
To examine the table in detail, you can click on the table icon ![]() above, resulting in a detailed view.
above, resulting in a detailed view.
Step 3.3: Remove duplicates from Dataset
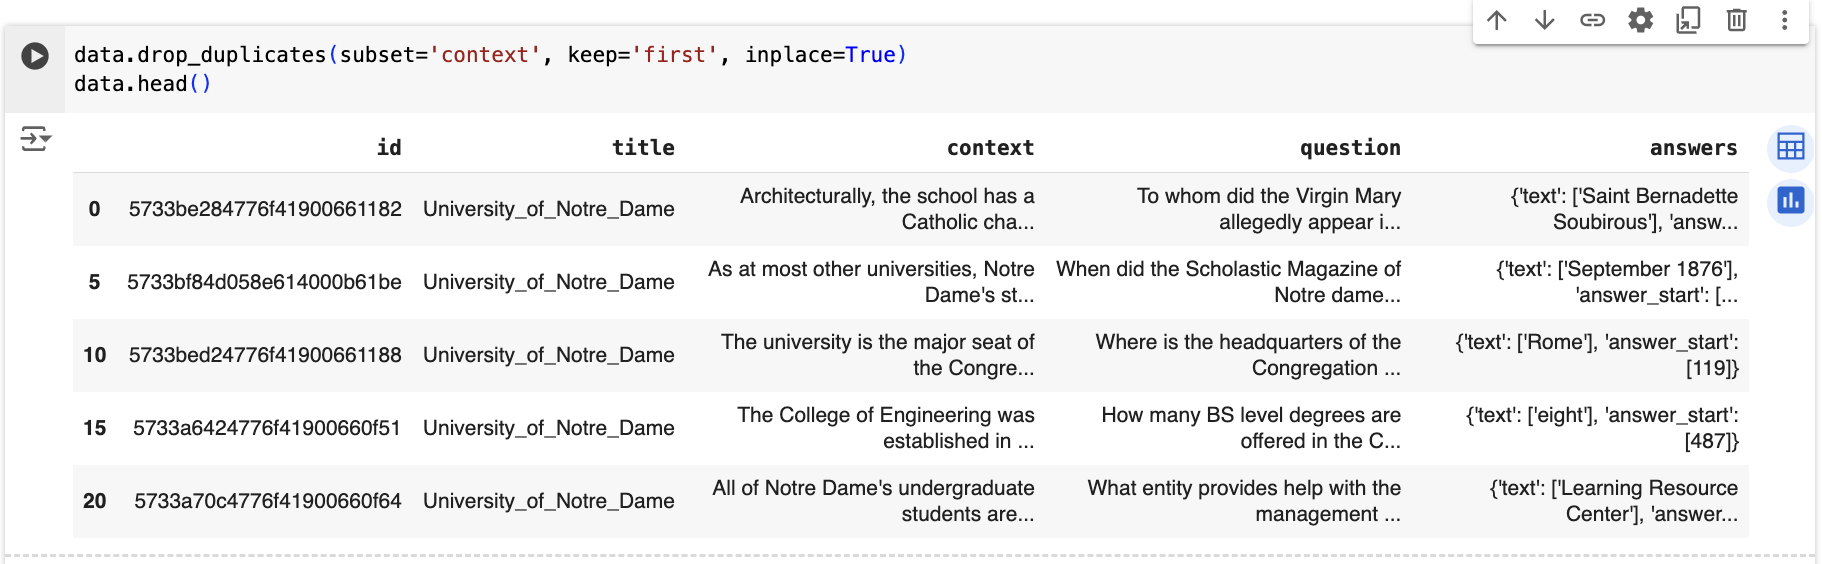
Upon inspecting the data table, you may notice duplicates in the ‘title’ and ‘context’ columns. We can remove these duplicates using the following code:
data.drop_duplicates(subset='context', keep='first', inplace=True)
data.head()
here drop_duplicates() function with the parameters specified will remove duplicate rows from the DataFrame data based on the values in the column labeled 'context'
- subset=’context’: Specifies the column(s) to consider when identifying duplicates. In this case, it indicates that only the
'context'column will be used to identify duplicate rows. - keep=’first’: Specifies which duplicates (if any) to keep. Here,
'first'indicates that only the first occurrence of each set of duplicate values will be retained, and subsequent duplicates will be dropped. - inplace=True: Modifies the DataFrame
datain place, meaning the changes will be applied directly to the original DataFrame without creating a new copy.
Executing this code removes duplicate rows based on the values in the ‘context’ column as shown below:
Step 4: Prepare Environment (OpenAI, Pinecone & Langchain)
Now that our data is prepared, we can utilize OpenAI embeddings with LangChain and Pinecone. At this stage, you will need:
- An OpenAI API Key (charges may apply as OpenAI services are now paid).
- A Pinecone API Key (used to interact with the vector database).
Step 4.1: OpenAI Readiness
import os
from getpass import getpass
from langchain_openai import OpenAIEmbeddings

# get API key from top-right dropdown on OpenAI website
OPENAI_API_KEY = os.getenv("OPENAI_API_KEY") or getpass("Enter your OpenAI API key: ")
model_name = 'text-embedding-ada-002'

embed = OpenAIEmbeddings(
    model=model_name,
    openai_api_key=OPENAI_API_KEY
)
Executing this code prompts for the OpenAI key if it’s not available in the system or environment variables.
Step 4.2: Pinecone Readiness
Initialize PINECONE Client
Next we will use PINECONE API key to initialize our Pinecone client using the code below
from pinecone import Pinecone

# initialize connection to pinecone (get API key at app.pinecone.io)
api_key = os.getenv("PINECONE_API_KEY") or getpass("Enter your Pinecone API key: ")

# configure client
pc = Pinecone(api_key=api_key)
Lets execute this by clicking the ‘Run’ button ![]() . Executing this code prompts for the PINECONE_API_KEY key if it’s not available in the system or environment variables.
. Executing this code prompts for the PINECONE_API_KEY key if it’s not available in the system or environment variables.
Define PINECONE Index Specs
from pinecone import ServerlessSpec

spec = ServerlessSpec(
    cloud="aws", region="us-east-1"
)
Step 5: Indexing our dataset in Pinecone
Step 5.1: Create Index
We need to create a Pinecone index based on our requirements. Since we’re using the ‘text-embedding-ada-002’ model,
- dimension, should be equal to to dimensionality of Ada-002 (`1536`), and
- metric, can be either `cosine` or `dotproduct`
import time

index_name = "langchain-retrieval-agent"
existing_indexes = [
    index_info["name"] for index_info in pc.list_indexes()
]

# check if index already exists (it shouldn't if this is first time)
if index_name not in existing_indexes:
    # if does not exist, create index
    pc.create_index(
        index_name,
        dimension=1536,  # dimensionality of ada 002
        metric='dotproduct',
        spec=spec
    )
    # wait for index to be initialized
    while not pc.describe_index(index_name).status['ready']:
        time.sleep(1)

# connect to index
index = pc.Index(index_name)
time.sleep(1)
# view index stats
index.describe_index_stats()
Lets execute this by clicking the ‘Run’ button ![]() . Once done you should see an output similar to below
. Once done you should see an output similar to below
{'dimension': 1536,
 'index_fullness': 0.0,
 'namespaces': {},
 'total_vector_count': 0}
Check that total_vector_count is 0, as we are yet to add any vectors.
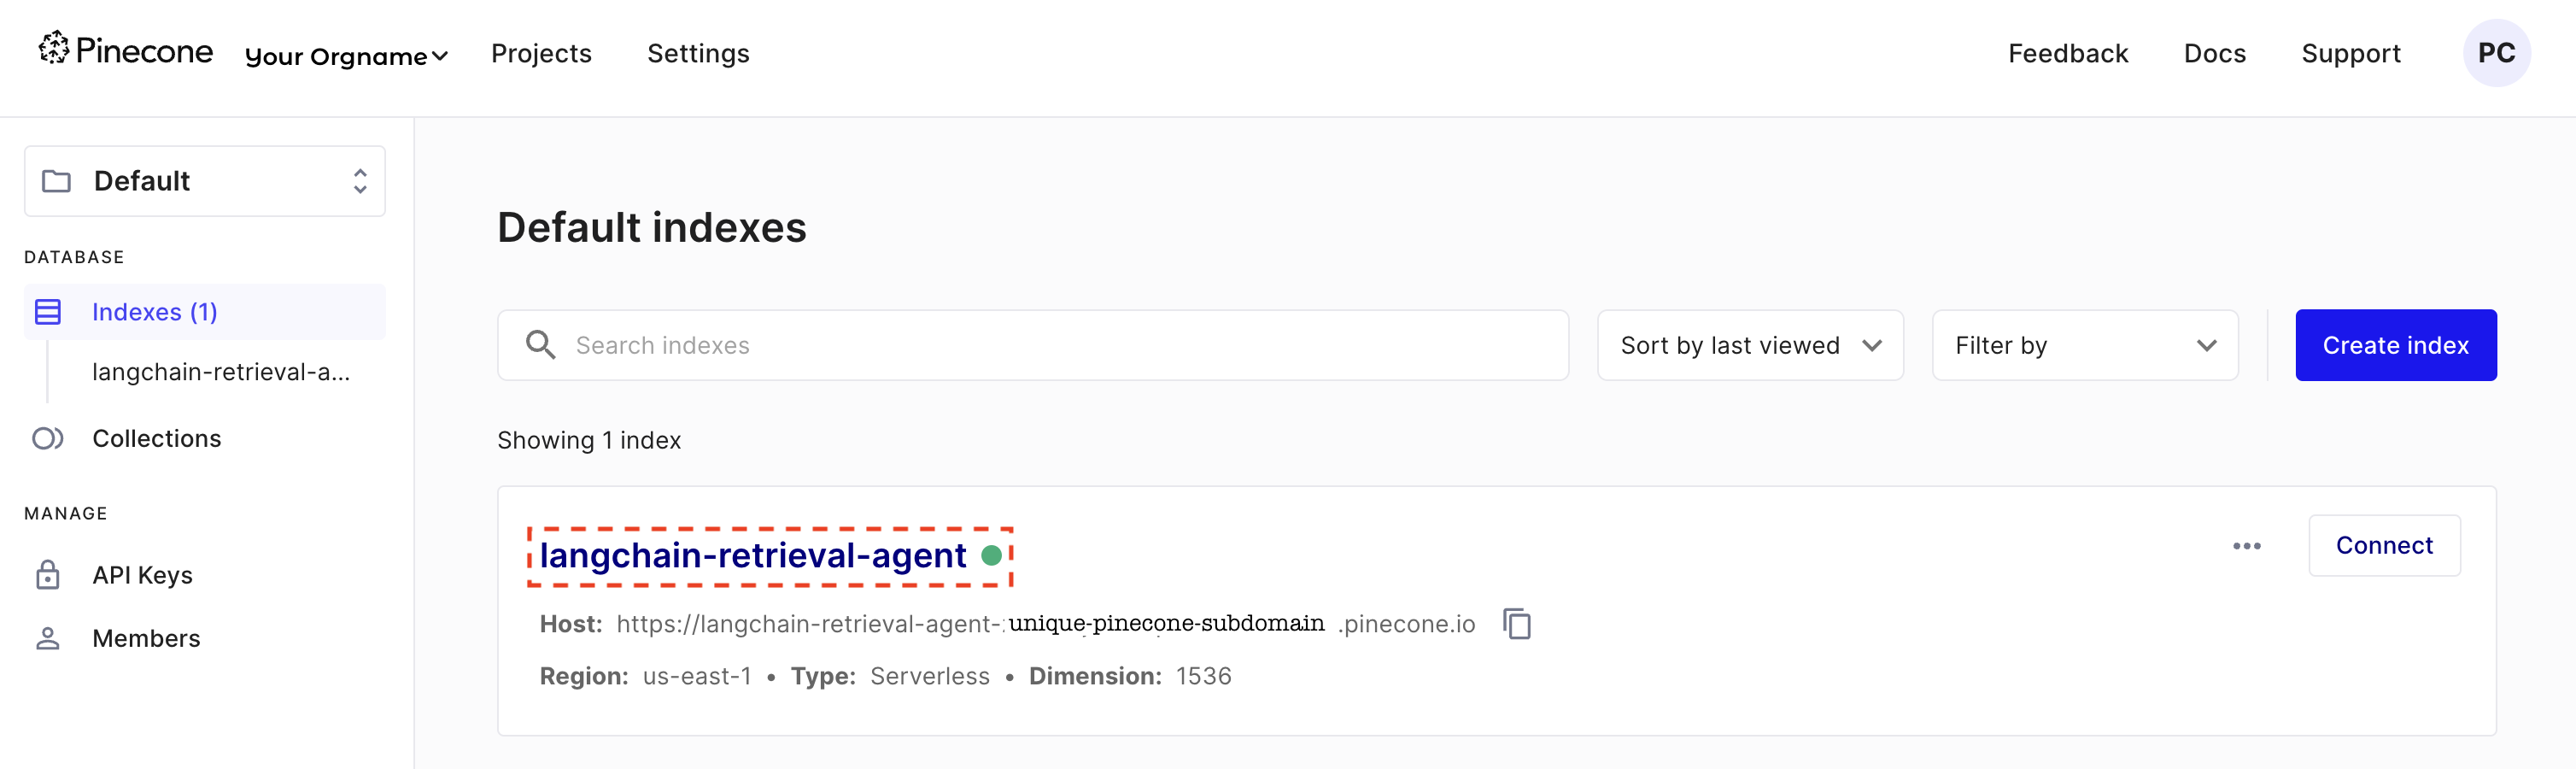
And you should be able to confirm the creation of index by visiting your Pinecone dashboard as shown below. Refer the index name highlighted in red dotted box below. I have masked the orgname and part of the host url in the image here.
Step 5.2: Indexing With Pinecone
Now, we’ll use the Pinecone index to start indexing our dataset:
from tqdm.auto import tqdm
batch_size = 100
texts = []
metadatas = []
for i in tqdm(range(0, len(data), batch_size)):
# get end of batch
i_end = min(len(data), i+batch_size)
batch = data.iloc[i:i_end]
# first get metadata fields for this record
metadatas = [{
'title': record['title'],
'text': record['context']
} for j, record in batch.iterrows()]
# get the list of contexts / documents
documents = batch['context']
# create document embeddings
embeds = embed.embed_documents(documents)
# get IDs
ids = batch['id']
# add everything to pinecone
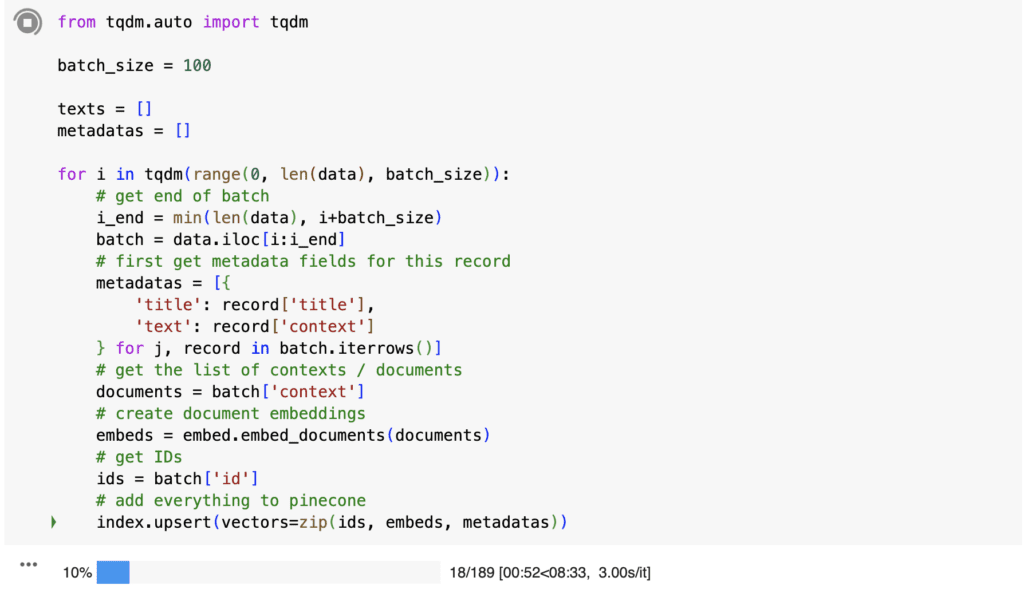
index.upsert(vectors=zip(ids, embeds, metadatas))Lets start indexing by clicking the run button ![]() . While indexing it should look similar to below image.
. While indexing it should look similar to below image.
Confirm Indexing
Wait until the indexing finishes. Once done, confirm by executing the following code in the notebook:
index.describe_index_stats()Lets execute this by clicking the ‘Run’ button ![]() . The following result should confirm the successful indexing.
. The following result should confirm the successful indexing.
{'dimension': 1536,
 'index_fullness': 0.0,
 'namespaces': {'': {'vector_count': 18891}},
 'total_vector_count': 18891}
If you have used the same dataset, then the total_vector_count should be 18891.
Step 6: Vectorstore with Langchain
Now, with our vector database ready, let’s initialize our Vector store with Langchain:
from langchain.vectorstores import Pinecone

text_field = "text"  # the metadata field that contains our text

# initialize the vector store object
vectorstore = Pinecone(
    index, embed.embed_query, text_field
)
Lets execute this by clicking the ‘Run’ button ![]() .
.
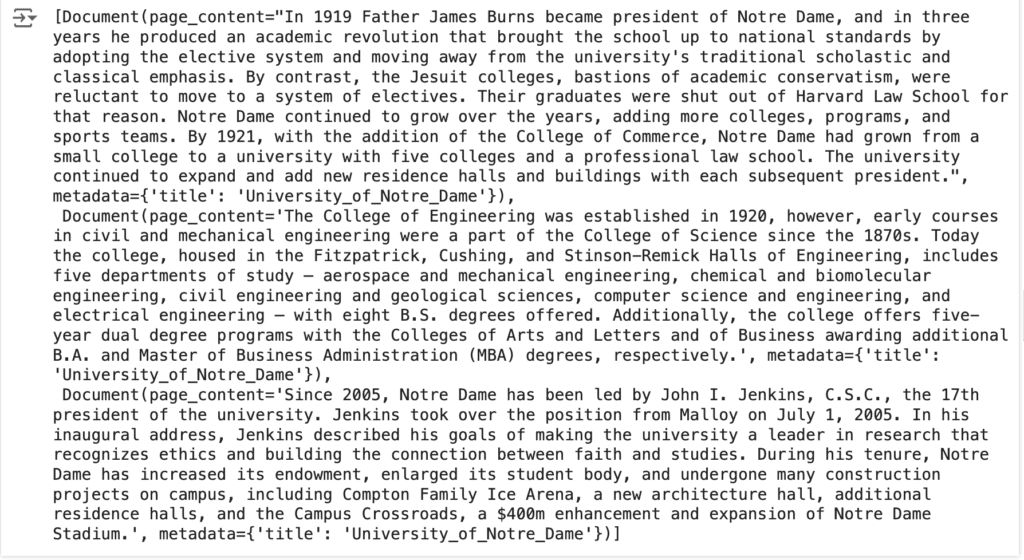
Step 7: Let’s Search (Important Checkpoint)
After all the preparations, it’s time to execute our first search:
query = "when was the college of engineering in the University of Notre Dame established?"

vectorstore.similarity_search(
    query,  # our search query
    k=3  # return 3 most relevant docs
)
Executing this code should provide the three most relevant answers based on the dataset fed to the vector.